by dotcomboom
Getting your printer set up for wireless printing is relatively simple on a home network. Most printers can connect to your Wi-Fi network and make themselves discoverable, and we’ve seen units be all in one, neat little packages for about a decade. It’ll be ad-hoc (Wi-Fi Direct or Bluetooth) or infrastructure, usually, and current operating systems are pretty good about finding them. Save for the occasional clogged spooler problems on Windows—I just reinstall the printer when this happens—it isn’t too bad.
But what if you’re trying to print from your printer as just one of thousands of users on a campus network?

While a small office/home office network is relatively simple to get wireless printers up and running, my school’s campus housing doesn’t work nearly as neatly for a couple of reasons. Enough wireless printers running in ad-hoc (such as by Wi-Fi Direct, where the printer creates a network of its own, instead of connecting to one) would cause interference with the access points in the building, and while we do get some options for connecting “IoT” devices like Chromecasts and game consoles, to connect a printer in what I’d assume to be the correct way (registered by its MAC address in a web interface, and connected to either to our IoT network with a unique WPA2 password for that device, or to the legacy Guest network without such encryption) would also mean you’d need to hook your laptop or desktop up as an IoT device as well for them to see each other (this is through a functionality called AirGroup, where it sorta makes a sandboxed network between those devices; I needed that to set up my smart clock, in order to allow my phone to see it for setup). It’s easier to tell students not to use their printers wirelessly, and instead to run them wired to their computer or use the campus printing services, and this is what my university does.
Personal printer: We strongly discourage residents from bringing their own printer. They take up a lot of space, and WiFi printers can interrupt the wireless service. All of our buildings have Tech Lounges where you can print efficiently and cheaply (it is only $0.05 per page to print in black and white and $0.10 per page in color!). If you do bring a printer, you should turn off its wireless capacity and use a cord to connect your computer and printer, instead.
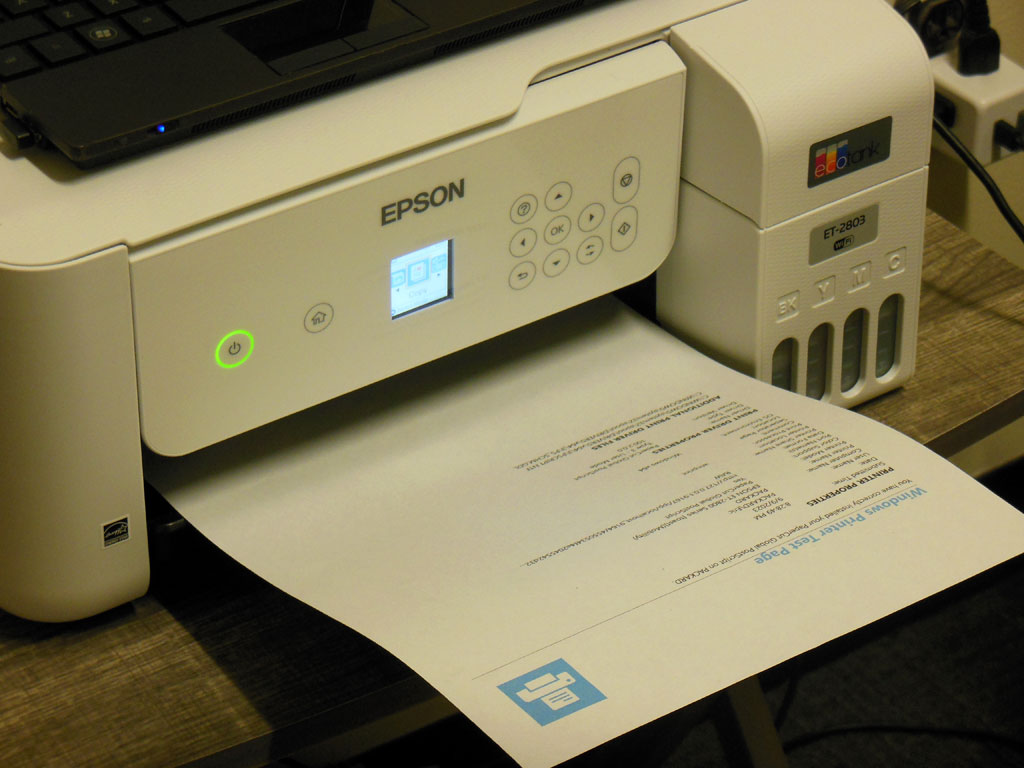
Jazzed about using my own printer anyway, I brought my Epson EcoTank, and duly disabled the wireless features. I had it set up next to my desktop connected with USB for a while, but with some room shuffling going on over the summer session, I wondered if I could set up a print station that I could use from my laptop and desktop without needing to swap cables between them (while still falling under policy!). I would still need to connect it to a computer to serve it. I could have used my desktop after making some space around it for the printer, but I wanted to try something more dedicated.
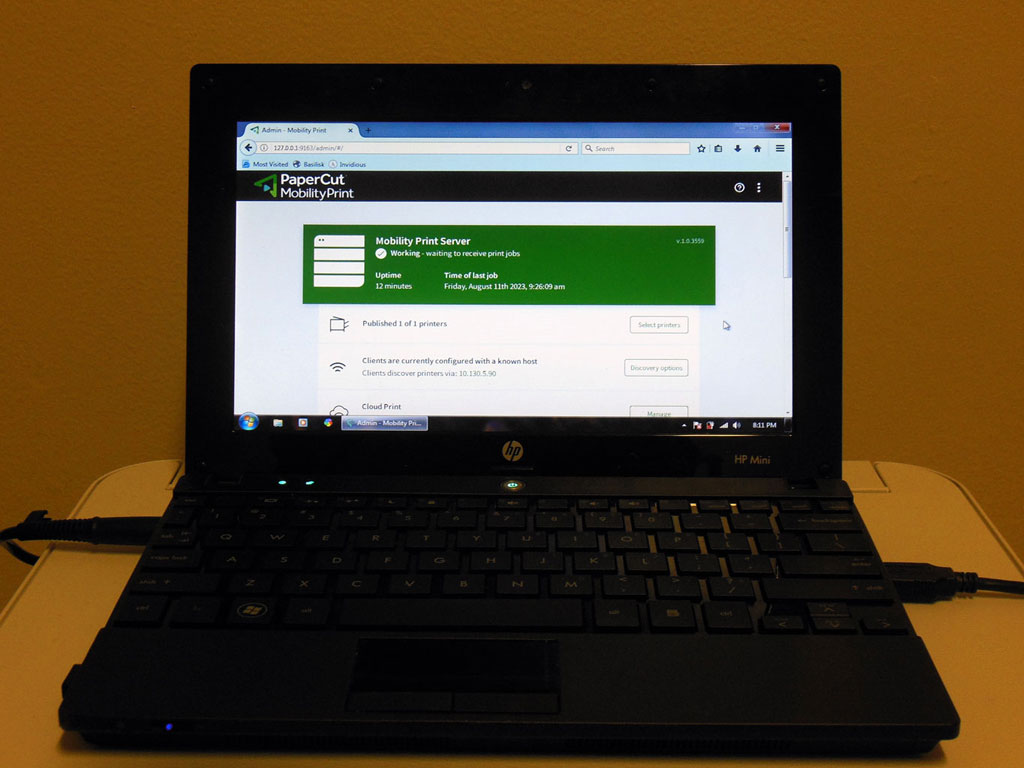
I had just the thing for the job: a HP Mini 5103 netbook that’s caused me to yearn a little for a higher specced laptop of its size. I love the brushed aluminum look to the lid, the ports, and form factor, but it has a very loud fan and its Atom N450‘s Intel GMA graphics chip limits how well games and video will work. Other models of this netbook included an N550, 1366×768 resolution display and touchscreen; you can read a review from the time period here.
After running into issues getting hardware acceleration for the GMA chip to work under Windows 10, I recently installed Windows 7 on it to see what it would have been like on its factory OS, and I was pleased to see stock Windows fared much better. It takes about a minute from cold boot to desktop, not counting typing the password in, much improved from the similar unit in this video online. It does do a bit of streaming video provided Invidious and a light browser like 360Chrome or Serpent, but still skips a bit at standard def.
Given that its battery is worn down and it has a relatively low power draw (in the ballpark of 10 watts from the wall on idle, provided the display is off), it was a good candidate as a machine for headless purposes, including a dear printer server. Fortunately, my printer’s drivers are Windows 7 compatible, so the hardware install went smoothly. I couldn’t share over a workgroup due to the same network restrictions, but I knew I could host a print server over a different port and either use its IP to print, or better, use cloud wizardry to make it available.
Google’s Cloud Print would have been a great option for this. As part of their first wave for getting Chromebooks and G Suite (then “Google Apps”) in schools and other enterprises, Cloud Print allowed you to attach a supported wireless printer to any Google account—or, provided you had a computer connected to it online to take jobs, any USB or legacy printer, too. I had some personal experience with it in the middle grades as our school was adopting Chromebooks and Google Apps during that time, and it was pretty convenient. Like many of Google’s offerings before then this service was quietly sunset in 2020, with Chrome OS implementing native printer support to compensate. So unfortunately, no longer an option here.
After a bit of searching for alternatives I found Mobility Print from PaperCut. It’s free, and variations of PaperCut’s products are in use by a lot of organizations. Its server software fortunately would still install on Windows 7, which was good since I was getting this set up late in the evening and didn’t feel like installing another operating system (a very well developed ClassiCube server software MCGalaxy is a .NET application, I need to keep my options open). It’s administered by a local web interface, and through that I was able to enable cloud printing functionality.

One additional challenge after I set it up, amusingly, was keeping the netbook awake to take in jobs. At one point I’d accidentally left the setting to automatically hibernate on, under my “Print Server” power plan, so after a day or so of being on it kept shutting itself off. When I found that option, it was all smooth sailing, leaving me with a very adequate personal remote printing setup.
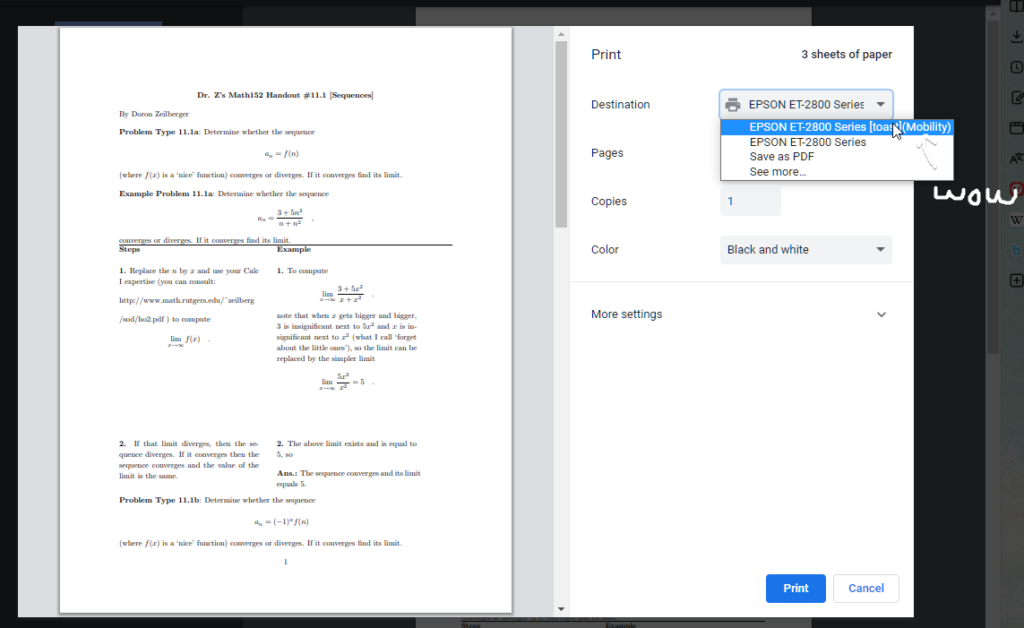
From there, you just need to set up access to the printer with a link, and then install the client software on whichever device you want to print from. When it’s all attached it’ll show up like a regular printer, showing the hostname of the server and (Mobility) to let you know it’s remote.

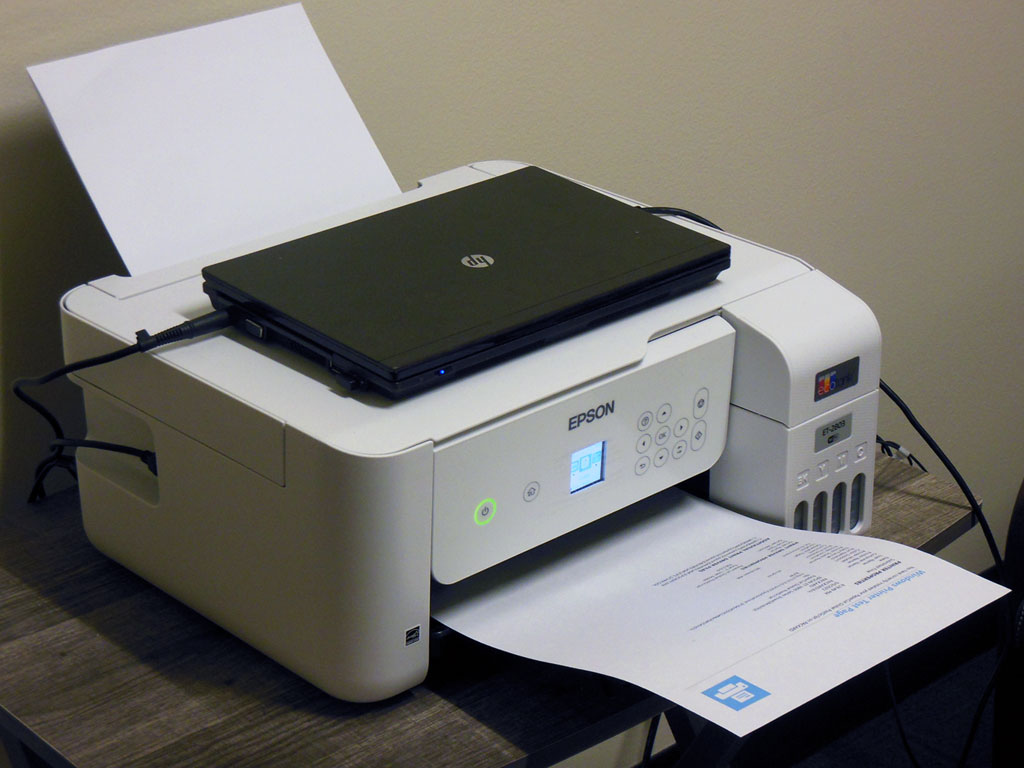
The only snag is that it ignores any double sided settings, but my printer unfortunately doesn’t have a duplexer anyway- and I won’t be there to flip the pages for it if I weren’t in my room, so that is reasonable. I found myself printing things for classes a lot after getting the server going, so I’m pleased with the setup still. Here’s a full shot of how it looks. I think it’s pretty clean, though any scanning I have to do with the combo will still have to be through the netbook itself.
As an aside, there actually was a bit of a scare about a security vulnerability that showed itself in PaperCut MF and NG as I was first writing this post. I’m not sure it affected Mobility Print, as their site lists it as a separate offering, but my server was off at the time, and upon bringing it back up to finish this post (I just got back to school in the last couple weeks) it automatically updated. Soo all’s well for now!

Tags: technology,
